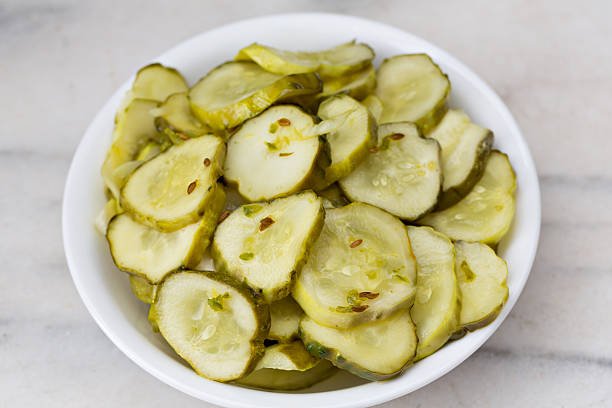
Bread-and-Butter Pickles.
PREP TIME: 10 minutes COOKING TIME: 10 minutes TIMING FOR SALTING: 4 hours CANNING TIME: 5 minutes YIELD: 5–6 half-pint jars
A brine that is equal parts sugar and vinegar is used to provide flavor to bread-and-butter pickles and to preserve them.
In spite of the fact that sugar or honey is added for flavor, the primary factor that ensures their longevity is the acidity of the vinegar.
These sliced pickles are great in the sandwich that bears its nickname, which consists of nothing more than bread, butter, and pickles. But not only are they delicious when combined with other sandwiches, but they are also delicious when eaten on their own.
INGREDIENTS
- 2.25 pounds of tiny, firm cucumbers 0.75 pounds of onions, peeled and cut very thinly
- 1 big red bell pepper, de-stemmed, seeded and sliced into very small pieces
- 3 tablespoons of kosher salt or any other kind of non-iodized salt
- 1½ cups apple cider vinegar
- a choice of 112 cups of sugar or 1 cup of honey
- 14 cups of water
- 1 tablespoon mustard seeds
- 1/2 milliliter of ground allspice
- 1 teaspoon of ground celery seeds
INSTRUCTIONS
- While the jars are being sterilized, begin slicing the cucumbers into very thin rounds. Toss the cucumber slices with the onions, bell pepper, and salt in a mixing bowl. Place a colander inside of a big dish and then put the salted veggies inside of the colander. Allow the veggies to drain for a full day.
- Sterilize the canning jars if you want to preserve the pickles in sealed jars at room temperature rather than immediately placing them in the refrigerator after making them.
- Wash the veggies in lukewarm water to remove the majority of the salt. After you have done so, place them in a big saucepan and add the other ingredients.
- Place the saucepan over high heat and bring the ingredients to a boil, stirring constantly to ensure that the sugar or honey does not scorch. When the liquid reaches a boil, immediately remove it from the heat.
- Using a slotted spoon, transfer the veggies to the sterilized jars (or just clean glass jars if you wish to refrigerate the pickles rather than can them), and then seal the jars tightly. Put them in there rather closely, but allow an inch of headroom between each person.
- Toss the veggies in the warm brine. It is ideal for the pickles to be entirely submerged in the brine, but there should be a half-inch of head space left over. Applying a little bit of pressure on the pickles with the back of a spoon can help get rid of any air bubbles.
- Immediately place the lids on the containers and place them in the refrigerator. Alternately, you may screw on the canning lids and then process the jars in a boiling water bath for five minutes (if you live at a high altitude, you will need to increase the canning time; see the sidebar in the chapter on Boiling Water Bath Canning for more information).
- Before you consume the pickles, you must wait four days. After a week, they will have an even greater flavor.
How To Can Peaches And Other Fruit
Fermented Hot Chile Pepper Sauce
HOW TO USE LACTO-FERMENTED VEGETABLES IN FIVE DELICIOUS WAYS